
Seamless Garage Door Opener Installation
- COMMERCIAL GARAGE DOOR REPAIR
- GARAGE DOOR OPENER INSTALLATION
- GARAGE DOOR SPRING REPAIR
- SAME-DAY GARAGE DOOR REPAIR
- CUSTOM GARAGE DOOR
- GARAGE DOOR OPENER REPAIR
- GARAGE DOOR TRACK REPAIR
- GARAGE DOOR CABLE REPAIR
- GARAGE DOOR PANEL REPAIR
- LOCAL GARAGE DOOR REPAIR
- GARAGE DOOR REPLACEMENT
- NOISY GARAGE DOOR FIX
- GARAGE DOOR INSTALLATION
- GARAGE DOOR SECTION REPLACEMENT
- OVERHEAD GARAGE DOOR REPAIR
- GATE REPAIR
Seamless Garage Door Opener Installation: A Complete Guide
Installing a garage door opener might seem like a daunting task, but with the right approach, it’s easier than you think! Whether you’re a DIY enthusiast or someone simply looking to avoid installation headaches, this guide will walk you through everything you need to know about garage door opener installation. By the end, you’ll have a perfectly working garage door opener and a sense of accomplishment!
Preparing for Your Garage Door Opener Installation
Before jumping into the installation, preparation is key. From picking out the right opener to getting tools organized, it’s all about setting yourself up for a smooth process.
Choosing the Right Garage Door Opener
Garage door openers come in several types—chain-drive, belt-drive, screw-drive, and direct-drive. Think about your priorities. Looking for something quiet? A belt-drive opener might be the answer. Have a heavy garage door? A screw-drive opener could be more suitable. For homeowners with smart homes, there are even Wi-Fi-compatible models you can manage through your smartphone.
Make sure to measure your garage door’s dimensions and check its weight capacity when selecting an opener. Compatibility is crucial for seamless functionality.
Gathering the Necessary Tools
Having the right tools at arm’s reach can save you countless hours. Here’s what you’ll need for most installations:
- Power drill
- Wrench set
- Screwdrivers (flathead and Phillips)
- Stepladder
- Measuring tape
- Level
- Safety glasses and gloves
Once you’ve gathered all the tools and your garage door opener, you’re ready to start.
Step-by-Step Garage Door Opener Installation
Here’s the fun part. Follow these steps step-by-step to ensure a problem-free installation.
Removing the Old Opener
- Disconnect your current opener’s power supply and remove any connections to the door.
- Using your power drill, unscrew the brackets holding it in place.
- Remove the old opener carefully, and clean the area if needed.
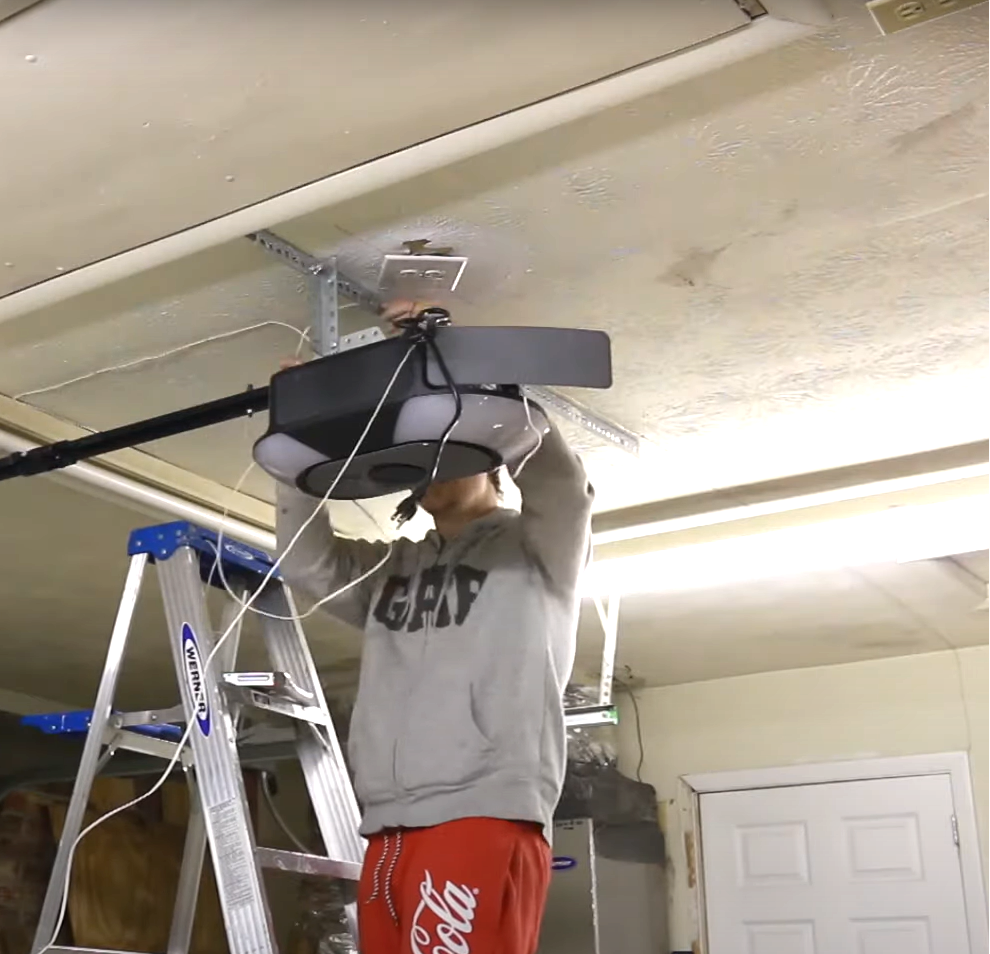
Installing the New Opener
- Assemble the new garage door opener based on the instructions provided by the manufacturer.
- Attach the opener to the ceiling-mounted bracket system securely with the provided bolts.
- Connect the rail to the motor unit and attach it to the garage door. Use a level to confirm everything is aligned before tightening the screws.
- Wire the control panel and connect the power source.
Testing and Adjustments
Once the installation is done, it’s time to test your garage door opener. Slowly open and close the door while checking for any misalignment or strange noises. Adjust tension or rails if necessary to ensure smooth operation. Also, test the safety features, like the auto-reverse function, to ensure compliance with safety standards.
Ensuring Safety and Longevity
Now that your new opener is installed, regular maintenance will keep it running smoothly.
Regular Maintenance Tips
- Inspect the system monthly: Check for wear and tear on springs, belts, and rollers.
- Lubricate moving parts: Use a silicone-based lubricant to keep the tracks and gears running smoothly.
- Clean the sensors: Wipe the safety sensors regularly for clear alignment and functionality.
When to Call a Professional
If the opener malfunctions or the garage door doesn’t operate smoothly despite your best efforts, it’s time to bring in an expert. Knowing when to call for professional help can save time and prevent any damage to the system—or yourself.
Call the Experts at Garage Door Repair Sun City Center Florida
Don’t want to DIY your way to a functioning garage? Trust the experts at Garage Door Repair Sun City Center Florida for a seamless installation experience. With years of expertise, they’ll ensure your garage door opener installation is hassle-free, safe, and reliable. Get in touch with them today!